
Word for Microsoft 365 Word for Microsoft 365 for Mac Word for the web Word 2021 Word 2021 for Mac Word 2019 Word 2019 for Mac Word 2016 Word 2016 for Mac Word 2013 Word 2010 Word for Mac 2011 More…Less
You can control the vertical space between the lines of text in your document by setting the line spacing. Or, you can change the vertical space between paragraphs in your document by setting the spacing before or spacing after paragraphs. You can also choose to keep lines of text together or keep paragraphs together on a page.
Change the line spacing in an entire document
-
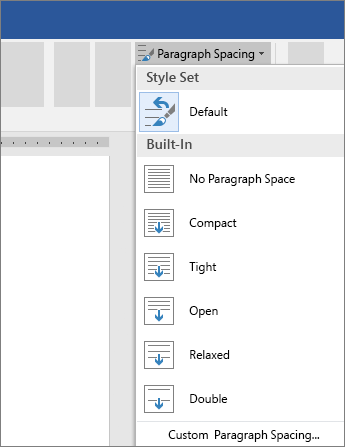
Go to Design > Paragraph Spacing.
-
Choose an option. To single space your document, select No Paragraph Space.
To return to the original settings later, go to Design > Paragraph Spacing and choose the option under Style Set. This may be Default or the name of style you’re currently using.
Change the line spacing in a portion of the document
-
Select one or more paragraphs to update. Press Ctrl + A to select all.
-
Go to Home > Line and Paragraph Spacing

-
Select Line Spacing Options and choose an option in the Line spacing box.
-
Adjust the Before and After settings to change spacing between paragraphs.
-
Select OK.

For more info, see Adjust indents and spacing.
Change the line spacing in an entire document
-
Go to Design > Paragraph Spacing.
-
Choose the option you want. If you want to single space your document, choose No Paragraph Space.

This overrides the settings of the style you’re currently using. If you decide later to return to the original settings, go to Design > Paragraph Spacing and choose the option under Style Set. The option might be Default, as shown above, or it will show the name of style you’re currently using.
Change the line spacing in a portion of the document
-
Select the paragraphs you want to change.
-
Go to Home > Line and Paragraph Spacing.
-
Choose the number of line spaces you want or select Line Spacing Options, and then select the options you want under Spacing.
-
To change the spacing before or after each of the paragraphs in the text you selected, click the arrow next to Before or After and enter the amount of space that you want.
-
Select OK.

-
Select the paragraph whose lines you want to keep together.
-
Go to Format > Paragraph >Line and Page Breaks.
-
Select Keep lines together.
-
Select the first of the two paragraphs that you want to keep together.
Tip: If you want to keep more than two paragraphs together, select all but the last paragraph.
-
Go to Format > Paragraph.
-
Go to Line and Page Breaks.
-
Select Keep with next.
-
Select OK.
-
Select the paragraphs you want to change, or press Ctrl+A to select everything.
-
Go to Home > Line Spacing.
-
Choose the number of line spaces you want, or select Line Spacing Options and then select the options you want in the Paragraph dialog box under Spacing:
Tip: If you want to change the spacing before or after the selected paragraphs, select the arrows in the Before or After boxes, or type a number directly.
Need more help?
Change the line spacing in Word

-
Select Design > Paragraph Spacing.
-
Hover the cursor over each option to see a preview, and then select the option you want.
For single spacing, select No Paragraph Space.
Change line spacing for part of your document
-
Select the paragraphs you want to change.
-
Select Home > Line and Paragraph Spacing, and choose the spacing you want.
-
To customize spacing, select Line Spacing Options. You can adjust several areas including spacing before and after paragraphs.

See Also
Add and format text
Create a bulleted or numbered list
Apply styles
Apply themes
Change the default line spacing
Need more help?
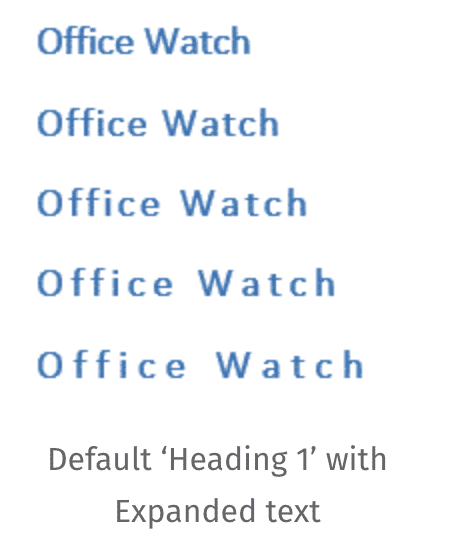
Are you searching for a more subtle way to make a heading or paragraph stand out, without using bold or enlarged text?
Expanding the characters may be the perfect solution for you.
Changing the spacing between the characters will make your text look bigger and bolder without actually increasing their size.
Alternatively, condensing the text will compress your text to fit into a smaller space. If you are trying to find a way to make your text fit on a single page, without reducing the text size to an un-readable size 8 font, reducing the space between the characters may be the solution you have been searching for.
Maybe you just want to reduce or expand the spacing between your characters to make your Word document more aesthetically pleasing.
Whatever your reason is for trying to change the spacing between your text characters in Word, in this post, we will show you how!
Changing the line spacing between letters in Microsoft Word
- Open your Word Document
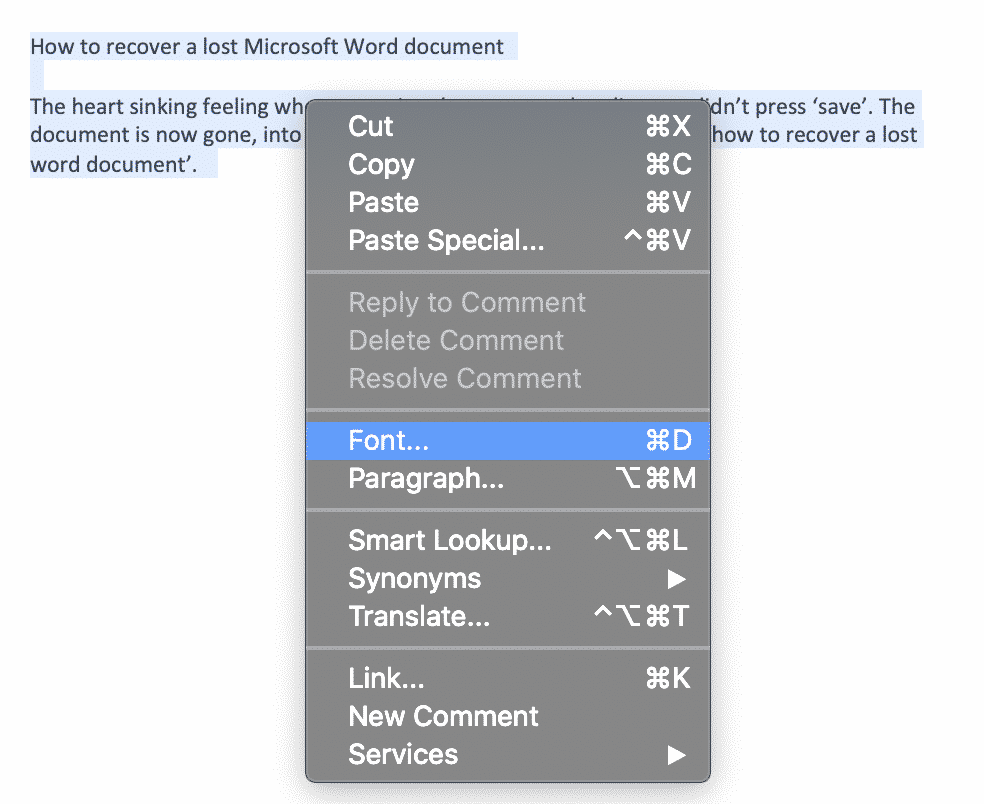
- Highlight the text you want to change the spacing between
- Right-click on your highlighted text
- Click Font
- Under Font, find and click Advanced

- Click Spacing
- Select Expanded to increase the spacing between your characters, or Condensed to reduce the size of the spacing between your characters
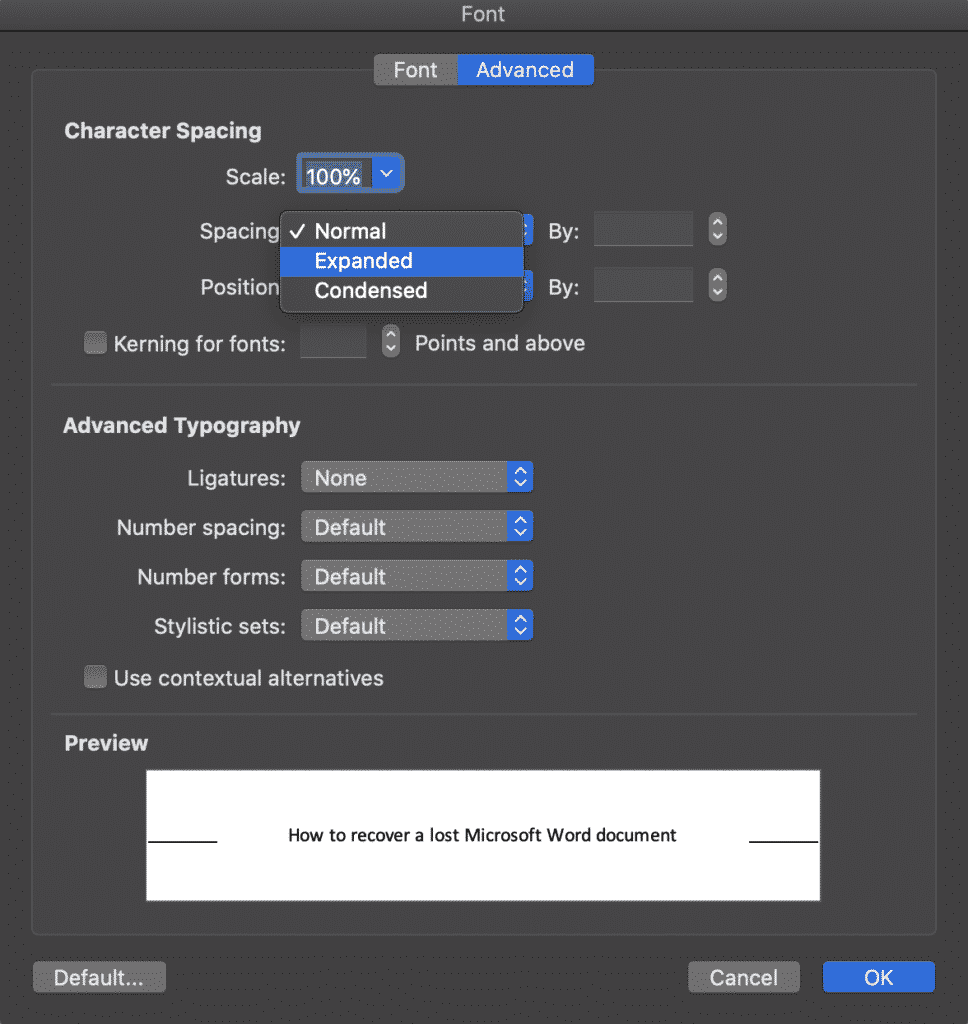
- Press OK
You have now successfully adjusted the spacing between each character selected.
If you would like to expand or condense the spacing throughout your entire Microsoft Word document you can do so by highlighting the full text body and following the steps above.
Searching for a Better Way to Manage Version Control?
We’ve all been there when you are looking for the most recent version of a particular document to send onto your boss, client or team members and just can’t find it anywhere.
I swear it was saved in the client folder last week, but since then John from Legal has taken a look, made some changes and moved the file. Leaving you with 25 different versions in your folder, but a sneaking suspicion that presentation_updated_v5final_UPDATED still isn’t the most recent one.
With no easy way to name files and everyone on the team taking a different approach version control is a problem almost all of us face.
It makes sense to use the _v1 addition on the end of a document, adding the next subsequent number next to the _v but then someone adds the word _final on the end. Honestly thinking this is the final version before another team member makes some more edits leaving you with something along the lines of _v8_final_v4 and the list goes on…
Do you think this is a frustration we have faced since the start of time?

Wonder no more, because it is not a frustration of your future.
With more than enough of us facing the same version control frustrations, the amazing team at Simul Docs decided to create a simple and perfect (we might be biased, but it’s pretty damn perfect) solution to version control in Microsoft Word.
Simul Docs manages version control for you.
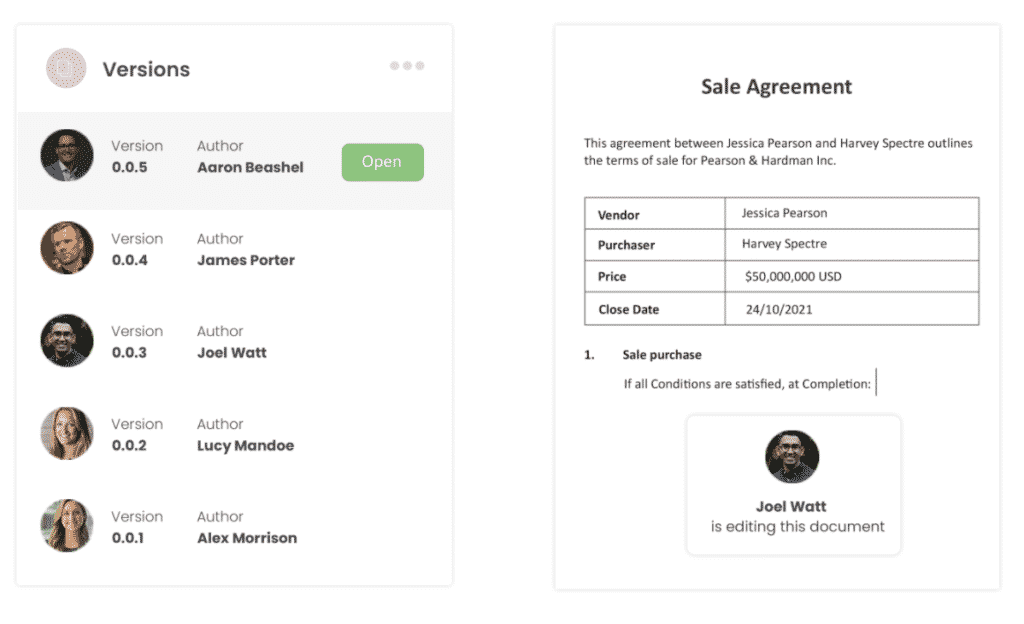
When a document is created, or edited with Simul, the purpose-built tool will automatically take over your version control. A new document is created and given the version number 0.0.1, that’s easy.
Then one of your colleagues open the document, make a few changes and press save, this version automatically becomes version 0.0.2 without your colleague even thinking about a file name or where it needs to be saved.
Simul takes care of your storage as well.
Each new version is neatly stored in the file’s version list, visible to any co-authors, making it easy for you to refer back to an old version anytime, or at a glance see who made edits each version and when they were done.
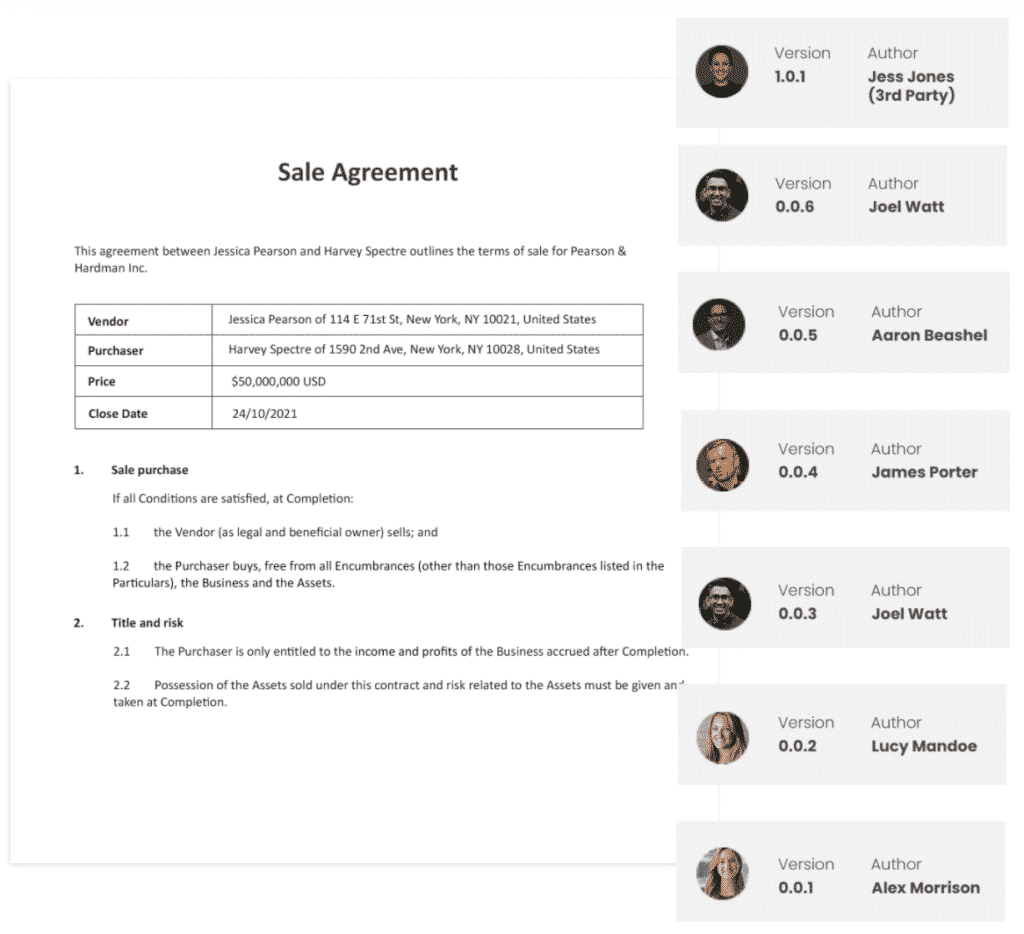
So, with Simul you can rest easy knowing your version control is under control and all of your documents are neatly stored away together, no matter who edits them opens them or requests to make a change.
Simul has you covered when it comes to version control, so why not try it out?
Currently offering a free trial, you have nothing to lose and you’ll never have to look at another document named _v4updated_FINAL-V2 again.
Simul Docs is a win win!
Line Spacing refers to the amount of space between any two lines in the Word Document. The default size of Line Spacing is 1.08 in MS Word. However, we can add custom line spaces to different lines, paragraphs in our Word Document according to our requirements and ensure quite good readability of our content to others.
In MS Word there are multiple ways to adjust Line Spacing which are as follows:
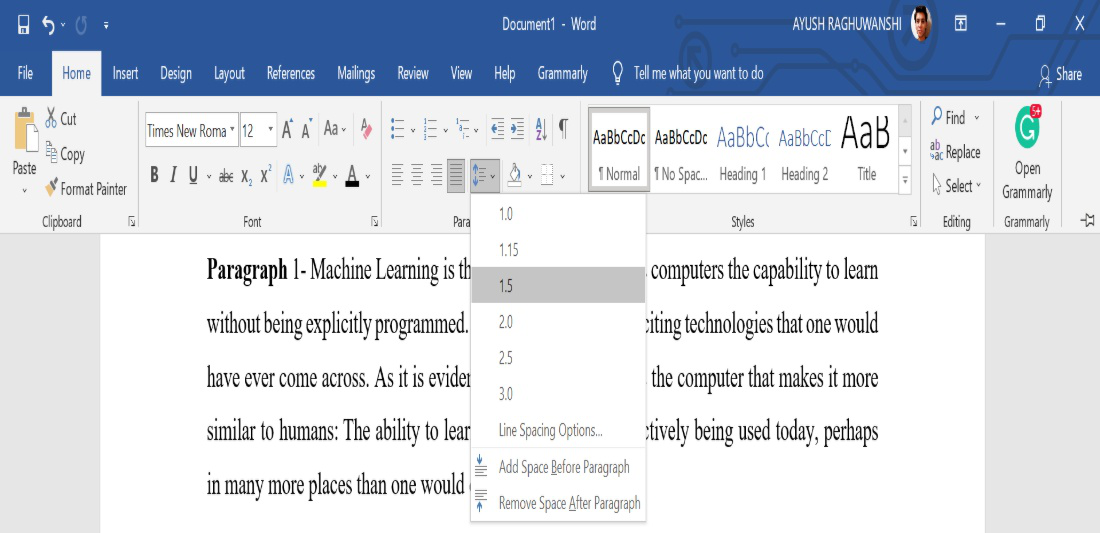
Method 1: Using the Line Spacing button
One way of setting the Line Spacing is using directly the Line and Paragraph Spacing feature in MS Word, which comes under the Home menu.
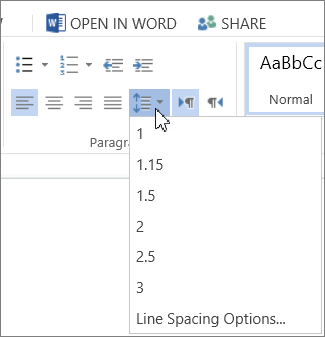
There are multiple Line Spaces like: 1.0, 1.15, 1.5, 2.0, 2.5, 3.0, etc.
Steps to Apply:
Step 1: Select the text/line/Paragraph you want to change the spacing.

Step 2: Now, select the Line and Paragraph Spacing tab from the Paragraph menu under the Home tab and select the line spacing of your choice.
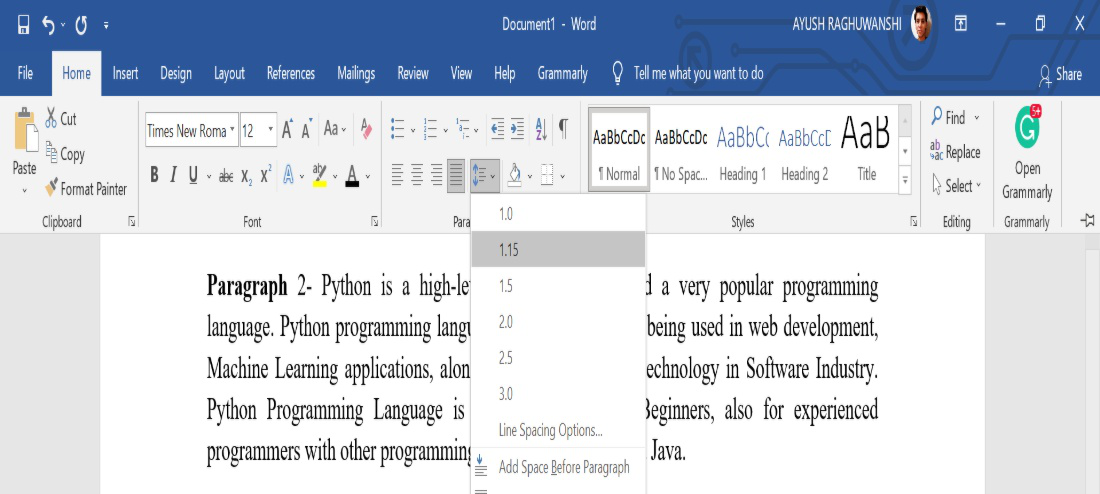
Perform the same steps for different line spacing:
- Select the text/line/Paragraph you want to change the spacing.

- Now, select the Line and Paragraph Spacing tab from the Paragraph menu under the Home tab and select the line spacing of your choice.
- Select the text/line/Paragraph you want to change the spacing.

- Now, select the Line and Paragraph Spacing tab from the Paragraph menu under the Home tab and select the line spacing of your choice.

Results:
Final Result of the Complete Word Document.

Method 2: Using Paragraph Dialog Box
Another way of setting the Line Spaces is using the Paragraph dialog box feature in MS Word. The Paragraph dialog box provides a wide variety of features along with Line Spacing that we can use in our Word Document to modify beautifully and accurately.
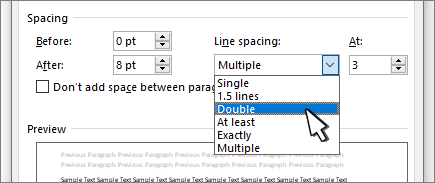
There are multiple Line Spaces in the Paragraph dialog box like- Single, 1.5 lines, Double, At least, Exactly, Multiple, etc,
Steps to Apply:
Step 1: Select the text/line/Paragraph you want to change the spacing.

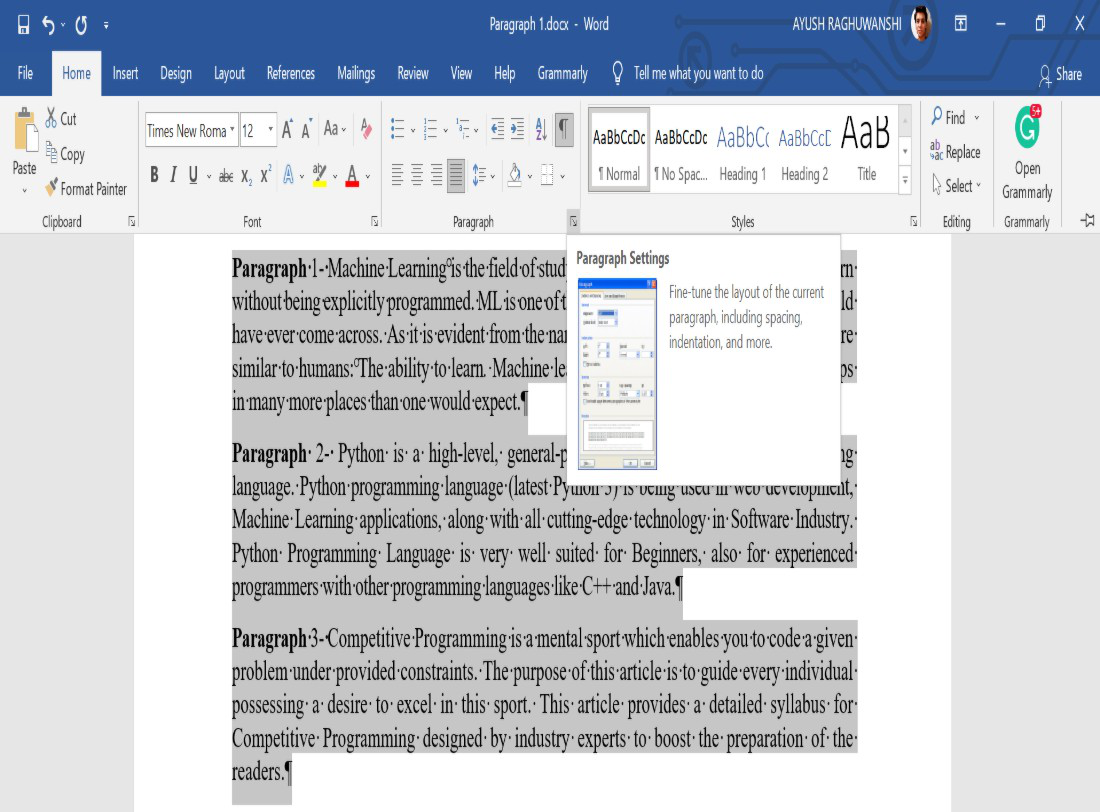
Step 2: Now, select the Show/Hide Paragraph tab from the Paragraph menu under the Home tab.

Step 3: Now, Select the dialog box launcher-Paragraph Setting from the Paragraph menu under the Home tab.
Step 4: Then select the Line Spacing from the dialog box under the Indents and Spacing tab- Single, 1.5 lines, Double, At least, Exactly, Multiple, etc, and then press the OK button.

Result:
As the whole Document was selected initially, so the Complete Word Document’s line spacing is changed to 1.5 lines.


There are several ways to adjust line spacing in Microsoft Word. Today’s tutorial explains the basic method using the ribbon and a more advanced method using the Paragraph dialog box.
See the Quick Tip at the bottom of this tutorial to learn how to single-space an entire document from the Paragraph dialog box.
This tutorial is available as a YouTube video showing all the steps in real time.
Watch more than 150 other document software tutorials on my YouTube channel.
The images below are from Word for Microsoft 365.The steps are the same in Word 2021, Word 2019, and Word 2016, and similar for Word 2013 and Word 2010. However, your interface may look slightly different in those older versions of the software.
Basic Method: Adjust Line Spacing from the Ribbon
- Select the Home tab in the ribbon.

- (Optional Step) Select the Show/Hide button in the Paragraph group to show paragraph break symbols and other formatting that may affect line spacing.

- Select the text with the line spacing that needs to be changed.

- Select the Line and Paragraph Spacing button in the Paragraph group.

- Select an option from the drop-down menu:
A. Numbers 1.0 through 3.0 add space between lines.
B. Add Space Before Paragraph adds space before paragraphs but not before the lines within them.
C. Remove Space After Paragraph removes space after paragraphs but not after the lines within them.
These three options are based on your current font size with 1.0 being the equivalent of single-spacing.

Your changes will be applied immediately.

Note that you can apply the individual line spacing (the numbers 1.0 through 3.0) and the paragraph spacing to the same text to further customize your results.
- (Optional Step) Select the Show/Hide button again to hide paragraph symbols and other formatting (see figure 2).
Now, let’s move on to an advanced method offering additional spacing options.
Advanced Method: Adjust Line Spacing from the Paragraph Dialog Box
- Select the Home tab in the ribbon (see figure 1).
- (Optional Step) Select the Show/Hide button in the Paragraph group to show paragraph break symbols and other formatting that may affect line spacing (see figure 2).
- Select the text with the line spacing that needs to be changed (see figure 3).
Pro Tip: PC users can press Ctrl + A to select the entire document if all the line spacing needs to be changed. However, this includes items you may not want to alter, including headings, tables, table titles, figure captions, tables of contents, footnotes, endnotes, and reference lists.
- Select the dialog box launcher in the Paragraph group.

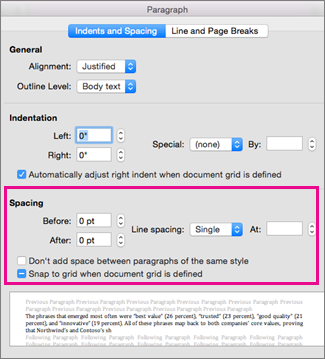
- Make changes in the Spacing section of the Paragraph dialog box:
A. The Before and After boxes represent the spaces before and after paragraphs measured in points with one point being 1/72 of an inch tall. Use the increment arrows to choose a whole number or enter a number with a decimal (e.g., 2.75) directly into the box.
B. The Line spacing drop-down menu offers six options:
1. Single—Creates single-spacing based on your current font size.
2. 1.5 Lines—Creates a space and a half as large as your current font size.
3. Double—Creates double-spacing based on your current font size.
4. At Least—Determines the minimum amount of space between lines based on the number of points entered in the At box.
5. Exactly—Creates space between lines based on the number of points entered in the At box.
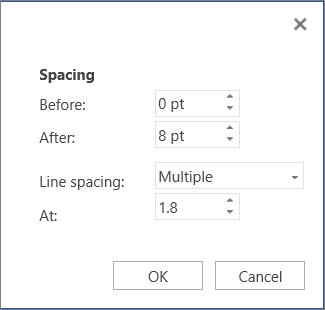
6. Multiple—Creates spacing multiplied by the number entered in the At box. For example, if you enter four in the At box, your spacing will be four times as large as your current single-spacing.
C. Don’t add space between paragraphs of the same style—For many users, this will remove spaces between all paragraphs because general documents commonly have only one paragraph style.

Note that the Preview box updates as you make adjustments in the Spacing section.
- Select the OK button to close the Paragraph dialog box.

- (Optional Step) Select the Show/Hide button again to hide paragraph symbols and other formatting (see figure 2).
Quick Tip: Single-Space an Entire Document from the Paragraph Dialog Box
- Select the Home tab in the ribbon (see figure 1).
- Select the entire document. (PC users can press Ctrl + A.)
- Select the dialog box launcher in the Paragraph group (see figure 7).
- Enter 0 in the Before box in the Paragraph dialog box (see figure 8).
- Enter 0 in the After box in the Paragraph dialog box (see figure 8).
- Select Single in the Line spacing drop-down menu (see figure 8).
- Select the OK button (see figure 9).
Related Resources
How to Adjust Letter Spacing in Microsoft Word (PC & Mac)
How to Adjust the Space between Words in Microsoft Word
How to Adjust Page Margins in Microsoft Word
Updated June 25, 2022